

How to use your Paintsmiths 1K Primer Touch Up
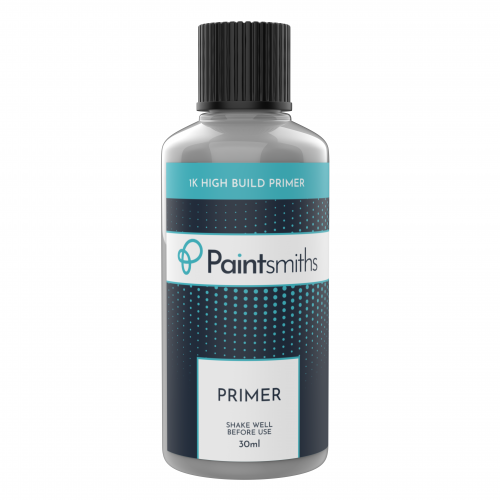
Paintsmiths 1K Primer Touchup Paint is the perfect solution for repairing minor scratches, scuffs and small chips on any surface with 2 coat paintwork (colour-coat and clear-coat). It is a single component Primer with high filling power and can be used on existing paint and directly on steel, aluminium, zinc and most plastic surfaces.

General Advice for using Paintsmiths 1K Primer
Ensure the following to achieve the best results:
-
-
Do not apply Primer in direct sunlight.
-
Refrain from power washing the vehicle for at least a week after application.
-
Do not use on cars painted within the previous 3 months.
- Apply when temperatures are over +5c.
-
Step 1: Shake the Bottle / Pen Thoroughly
Shake the bottle or pen for at least 2 minutes to thoroughly combine the Primer. It is completely normal to see some white marbling at the bottom / sides of the bottle if the bottle has been sat for some time. This will remix with a good shake. You should hear the 6mm paint agitator ball moving in the bottle when shaking vigorously.
Test the Primer on a small and discreet area of the surface to check the suitability before wider application. Let it dry for about 20 minutes to see how it appears once dried.
Step 2: Surface Preparation
Clean the area where you will be applying the Primer to ensure that no dust, dirt, wax, or polish remains. An IPA or Panel wipe will give the best surface preparation, although a good clean with car shampoo will also create a clean surface to apply the Primer. Ensure that any old flaky paint or rust has been removed or treated prior to applying the Primer.
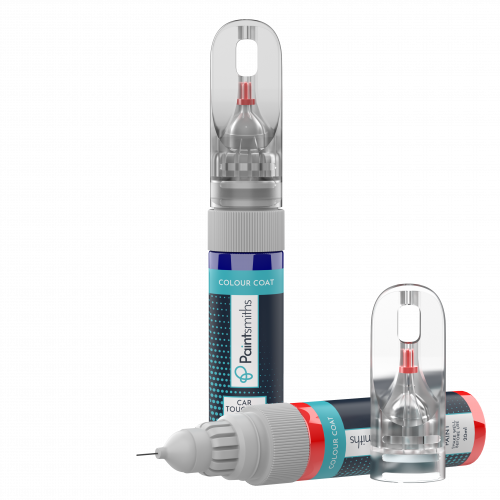
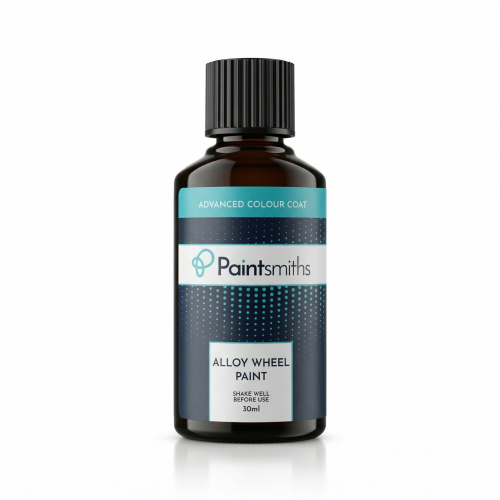
Step 3: PrimerApplication
If you are using a brush tip, apply thin layers of Primer to the damaged area, ensuring smooth and even strokes. Be careful not to apply too much Primer at once to avoid clumps.
If you have purchased the 20ml Pen, and wish to use the needle-point applicator, gently place the nib into the scratch or chip, allowing it to sit in the damaged area and squeeze the pen to release a controlled amount of Primer. This ensures that only the damaged area is covered. Avoid applying fresh Primer on top of any existing paint to prevent the repair from looking uneven.
The Primer is designed to be high build so can be layered to cover minor damage and defects.
Step 4: Drying Time and Additional Coats
Drying time is crucial for achieving a smooth, professional finish. After the first coat, let the Primer dry for at least 20-30 minutes. If further coats are necessary to achieve full coverage, wait for the first coat to fully dry before applying another. Ambient temperature can significantly affect drying time, and therefore during colder periods, the Primer can take up to 90 minutes to dry.
To assist the drying process, a hair dryer on a heat setting will speed up the curing time. Allow the Primer to cure for at least 4 hours before you proceed with any additional steps like sanding.
IMPORTANT - Safety Notice
The 1K Primer supplied contains products that are or may:
- H225 - Highly flammable liquid and vapour.
- H319 - Causes serious eye irritation.
- H336 - May cause drowsiness or dizziness.
Before applying the paint, wear protective gloves and ensure you apply the paint in a well-ventilated area. Keep away from heat, hot surfaces, sparks, open flames and other ignition sources. No smoking. Avoid breathing dust/fume/gas/mist/vapours/spray. Keep the bottle out of reach of children. If medical advice is needed, have product container or label at hand. Read label before use. IF ON SKIN (or hair): Take off immediately all contaminated clothing. Rinse skin with water/shower. IF IN EYES: Rinse cautiously with water for several minutes. Remove contact lenses, if present and easy to do. Continue rinsing.
Do not swallow the product.